Adding a New Item Class to the Item Class Explorer
Perform the following steps to add a new item class to the item class explorer.
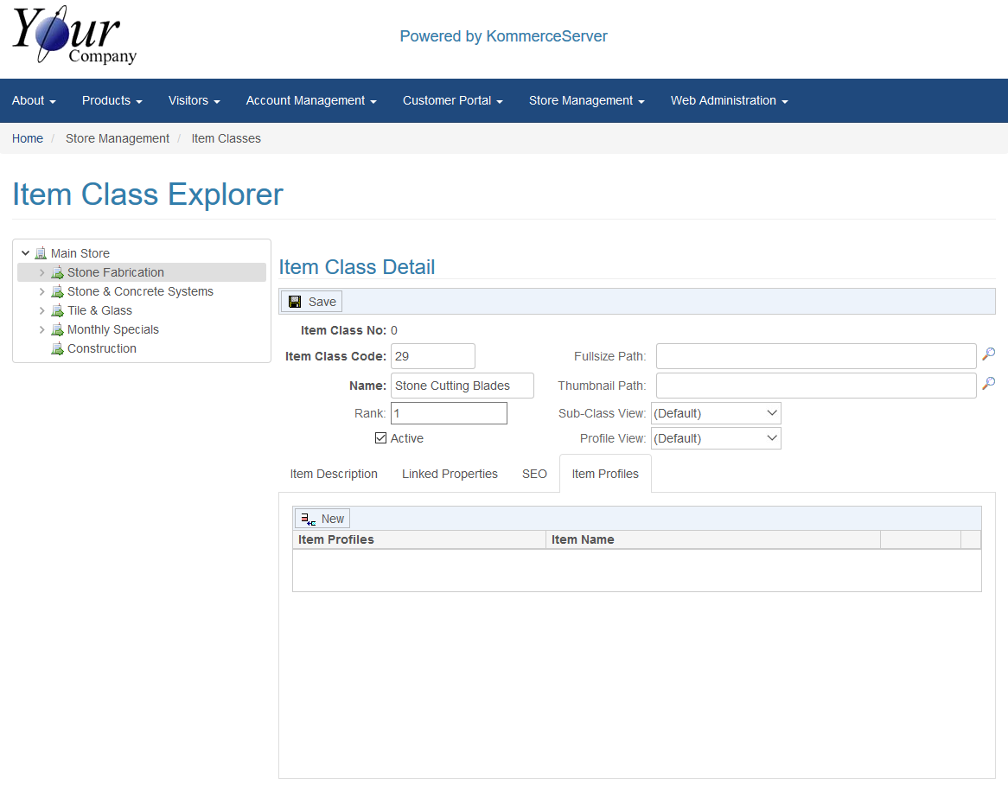
- Navigate to the Item Class Explorer page by selecting Store Management>Item Classes. The Item Class Explorer page opens.
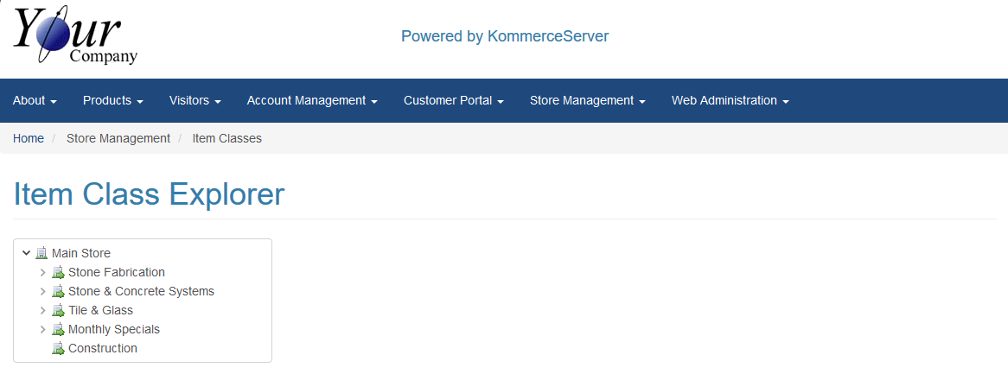
- Right-click the item class name in under which you want to add your new item class. The Item Class Detail pane appears next to the item class tree.
![]()
- Enter a code for the item class in the Item Class Code field.
- Enter a name for the item class in the Name field.
- Enter a rank for the item class in the Rank field. The lower the number, the higher the item class will appear in the item class tree.
- Be sure the Active checkbox is selected if you want the item class to be listed in the product catalog.
- If you want a full size image associated with your item class, you can select it by clicking the search icon next to the Fullsize Path field.
- If you want a thumbnail image associated with your item class, you can select it by clicking the search icon next to the Thumbnail Path field.
- Select a Grid or List view option in for your sub-classes in the Sub-Class View drop-down menu.
- Select a Grid, List, or Table view for your item profiles in the Profile View drop-down menu.
- On the Item Description tab, enter an item description for your item in the window at the bottom of the page, using the formatting tools to customize the look and feel of the text.
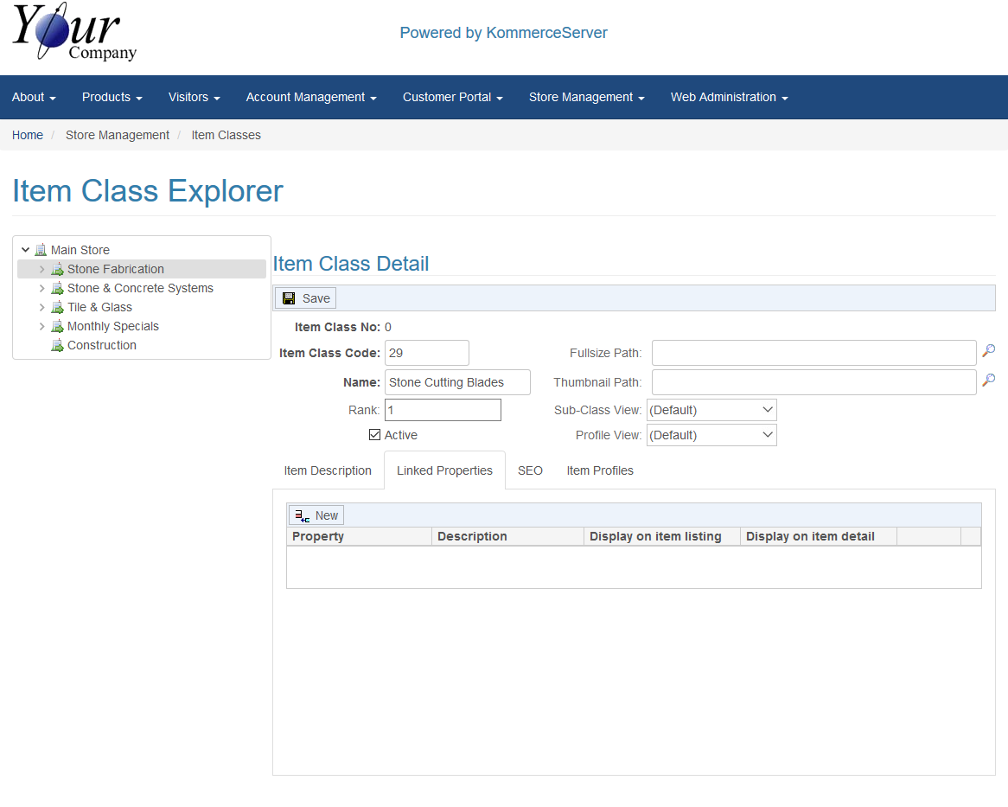
- Click the Linked Properties tab. The linked properties area appears at the bottom of the page.
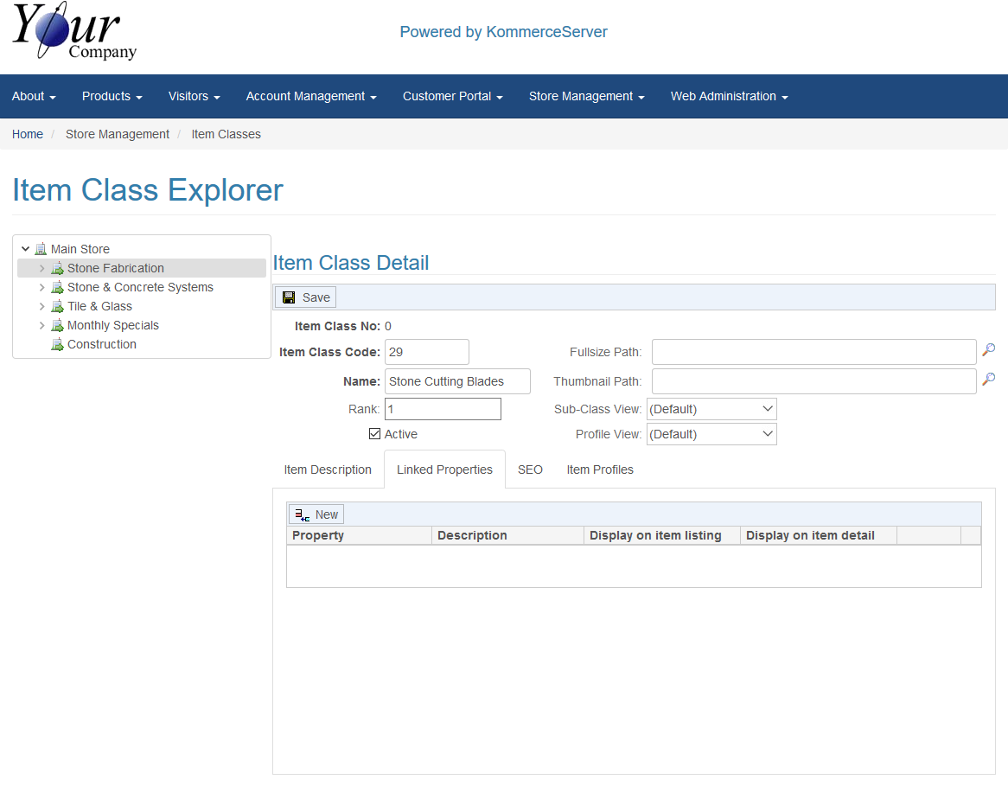
- Click the New button to link a property to your item class. A line item appears below.
- Perform the following steps to add a linked item:
- Select a property from the Property column.
- Enter a description of the property in the Description field.
- Select the Display on item listing checkbox to display the property on the item listing.
- Select the Display on item detail to display the property on the item detail page.
The custom properties that are listed in the Property column are created on the Extended Property Listing page. Refer to this page to create a new property or to modify an existing one.
- Click the SEO tab. The SEO area appears at the bottom of the page.
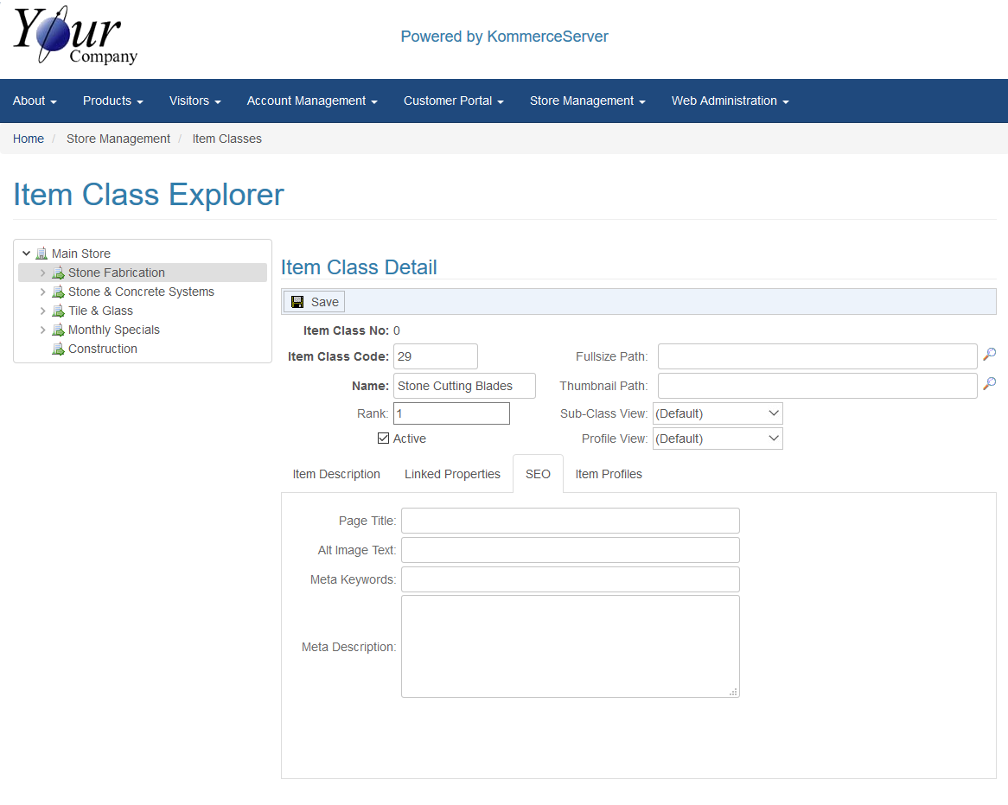
- Perform the following steps to enter your SEO keywords.
- Enter the title of your page in the Page Title field.
- Enter your alt image text in the Alt Image Text field.
- Enter your meta keywords in the Meta Keywords field.
- Enter a meta description in the Meta Description field.
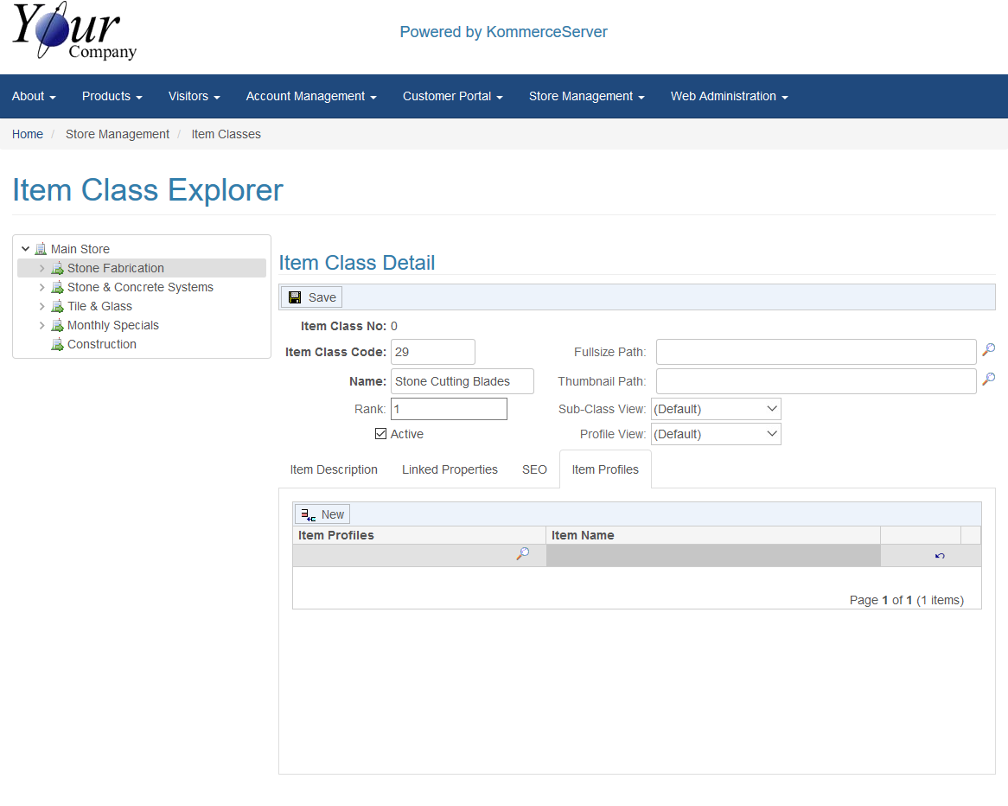
- Click the Item Profiles tab to link item profiles to your item class. The Item Profiles area appears at the bottom of the page.
- Click the New button to link an item profile to your item class. A new line item appears below.
- Click the search icon that appears next to the Item Profiles field to search for and select an item profile.
- Continue to add item profiles as necessary.
- Click the Save button to save your changes.